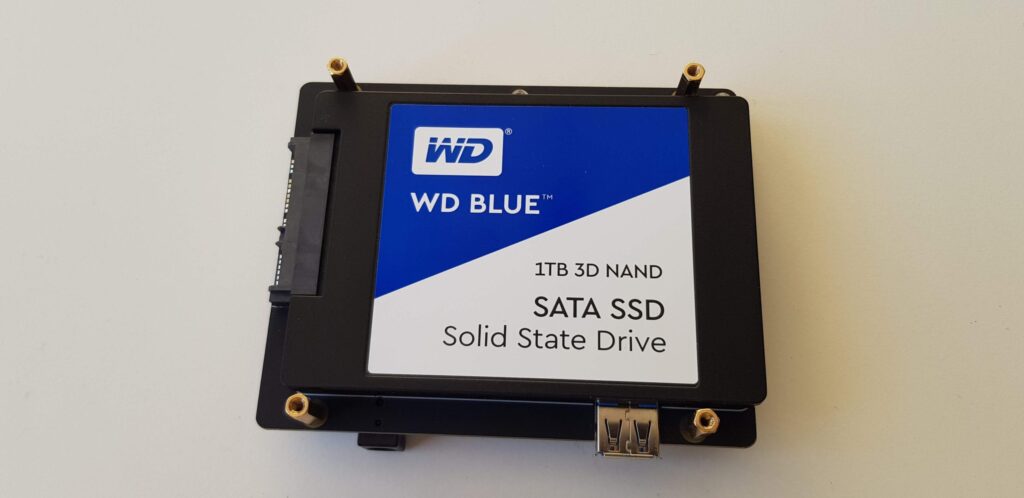
With the SSD installed on the X825 , it works like a regular USB drive. Why not install Home Assistant OS while I wait for the screws. I have no USB type A male to USB type A male cable. I used a charging cable from an Android mobile charger that has USB type A to USB type C. It worked because luckily there was a USB type C port on the back of the computer.
Install Raspberry Pi Imager and launch the application. But yhe disk does not appear in Windows when connected…
Forgot the power supply, plugs in the power adapter to the X825 and the disk appears in windows immediately.
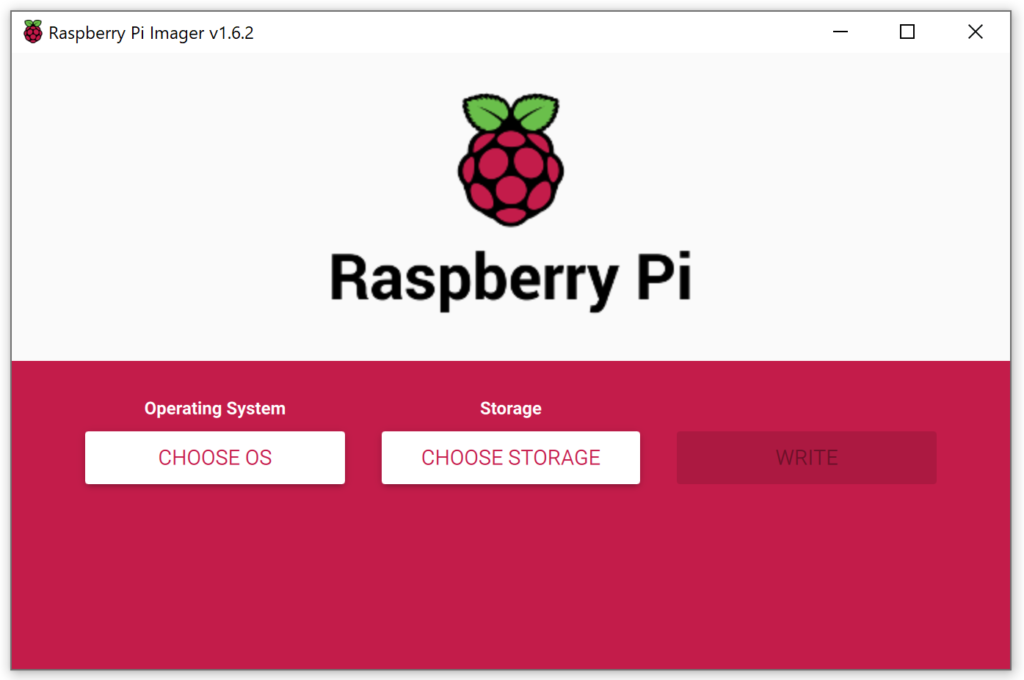
In Imager:
- Click the “CHOOSE OS” button.
- Click on “Other specific purpose OS”.
- Click on “Home Assistant”.
- Click on the image that is for the Raspberry Pi 4.
Back to the start page of Imager again but now I can see which OS is selected on the OS button.
- Click the “CHOOSE STORAGE”.
- Click the SSD where it will be installed. !!Warning!! Everything on the disk will be erased and replaced with Home Assistant OS.
- Click the “WRITE” button. If the correct disk is selected, press “YES” to start writing.
When done (fairly quickly) disconnect the SSD from the computer. Done.
To get the Raspberry Pi 4B to boot from the USB drive, the bootloader must be changed to boot from SSD via USB and not SD card.
I use an old SD card I had lying around and put it in the computer and opened Imager again.
- Click on “CHOOSE OS”.
- Click on “Misc utility images”.
- Click on “Bootloader”.
- Click on “USB Boot”.
- Click on “SHOOSE STORAGE”.
- Click on the correct SD card.
- Click on “WRITE” to start. !!Warning!! Everything on the disk will be deleted.
When ready, remove the SD card and insert it into the Raspberry Pi 4B.
Start it by plugging in the power adapter to the DC5525 port on the X735.
It will finish in about 10 seconds when the green LED on the RPi4 starts flashing.
Remove the power cord from the RPi4 and remove the SD card. Don’t need that any more.
What has now happened is that the bootloader that is in an EEPROM on RPi4 was reprogrammed to first try to find a disk on USB and if it fails to boot from the SD card instead.
Now Home Assistant is installed and the booloader is set to boot from USB.
Time again to wait for the screws.